Advanced mobile terminal, Android 13, HDWR AndroSavvy-660
GTIN: 5906935203873 · SKU: AndroSavvy-660
Table of contents
Introduction
The AndroSavvy-660 is an industrial Android mobile terminal that is fast and offers long battery life. It is well suited to logistics and courier services, warehouse stocktaking, manufacturing and retail — it gives quick access to information and speeds up goods receipt, dispatch and stocktaking.
Specifications
- Color: black
- Operating system: Android 13
- Processor: Qualcomm octa-core, 2.0 GHz
- Memory (RAM + storage): 3 GB + 32 GB / 4 GB + 64 GB / 6 GB + 64 GB / 6 GB + 128 GB
- Display: 5.5-inch HD (18:9), IPS LTPS 1440 × 720
- Touch panel: Corning Gorilla Glass, multi-touch, works with gloves and wet hands
- Power supply: removable lithium-ion battery
- Battery capacity: 4300 mAh
- Standby time: over 300 hours
- Working time: over 12 hours (depending on conditions)
- Charging time: 2.5 hours (with the standard charger and USB cable)
- Card slots: 1 × nano SIM (SIM1), 1 × nano SIM (SIM2) or microSD (TF)
- Interface: USB 3.0 Type-C, OTG, pogo-pin contact connector on the back of the housing
- Audio: 2 microphones (one for noise cancellation), 1 speaker
- Buttons: 1 power button, 2 scan buttons, 2 volume buttons
- Sensors: accelerometer, light sensor, proximity sensor, gravity sensor
- Notifications: sound, LED indicator, vibration
- Camera: rear 13 MP with autofocus and flash
- Storage expansion: microSD up to 256 GB
- Programming language: Java
- Development environment: Android Studio, Eclipse
- Ingress protection: IP65
- ESD: ±15 kV air discharge, ±8 kV contact discharge
- Communication: Bluetooth 5.1, Wi-Fi 2.4 / 5 GHz, 4G, GPS
- GNSS: GPS/AGPS, GLONASS, BeiDou; internal antenna
- WLAN: IEEE 802.11 a/b/g/n, 2.4 GHz / 5 GHz dual-band, internal antenna
- Mobile network (Europe): 2G 850/900/1800/1900 MHz; 3G WCDMA 850/900/1900/2100 MHz; 4G B1/B3/B5/B7/B8/B20/B38/B39/B40/B41
- NFC frequency: 13.56 MHz
- NFC protocol: ISO14443A/B, ISO15693, NFC-IP1, NFC-IP2
- NFC chips: M1 cards (S50, S70), CPU cards, NFC tags and others
- NFC range: 2–4 cm
- Readable 1D codes: UPC/EAN, Code 128, Code 39, Code 93, Code 11, Interleaved 2 of 5, Discrete 2 of 5, Chinese 2 of 5, Codabar, MSI, RSS and others
- Readable 2D codes: PDF417, MicroPDF417, Composite, RSS, TLC-39, Data Matrix, QR Code, Micro QR, Aztec, MaxiCode; postal codes: US PostNet, US Planet, UK Postal, Australian Postal, Japan Postal, Dutch Postal (KIX) and others
- Drop resistance: drops from approx. 1.5 m
- Operating temperature: −20 to 50 °C
- Storage temperature: −40 to 70 °C
- Operating humidity: 5–95% RH, non-condensing
- Device weight: 287 g
- Weight with packaging: 625 g
- Device dimensions: 16 × 7.6 × 1.55 cm
- Package dimensions: 11 × 19.5 × 7.5 cm
Set contents
- Mobile terminal
- 4300 mAh battery
- Wrist strap
- USB cable
- Power adapter with USB-A port
Device layout and buttons
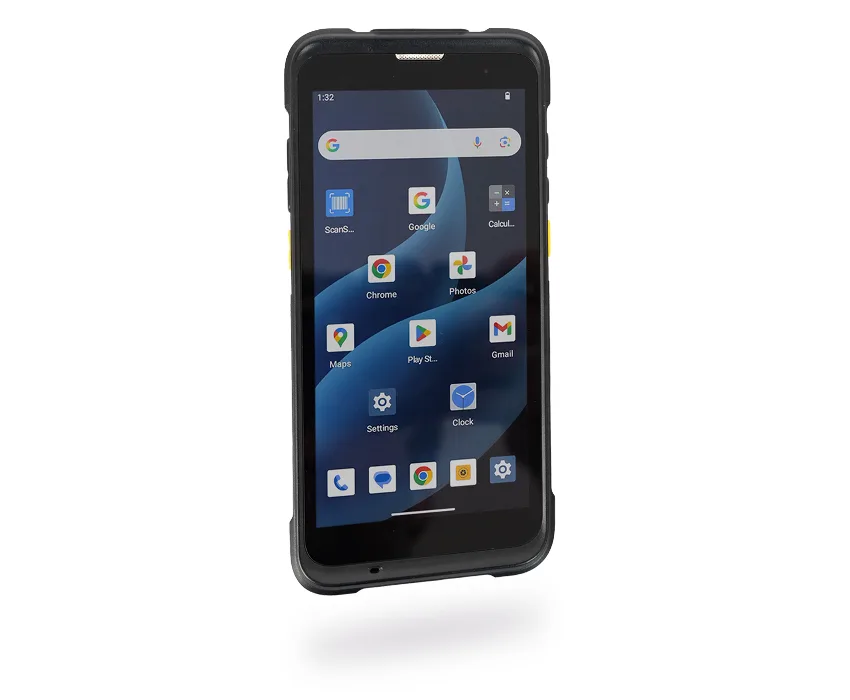
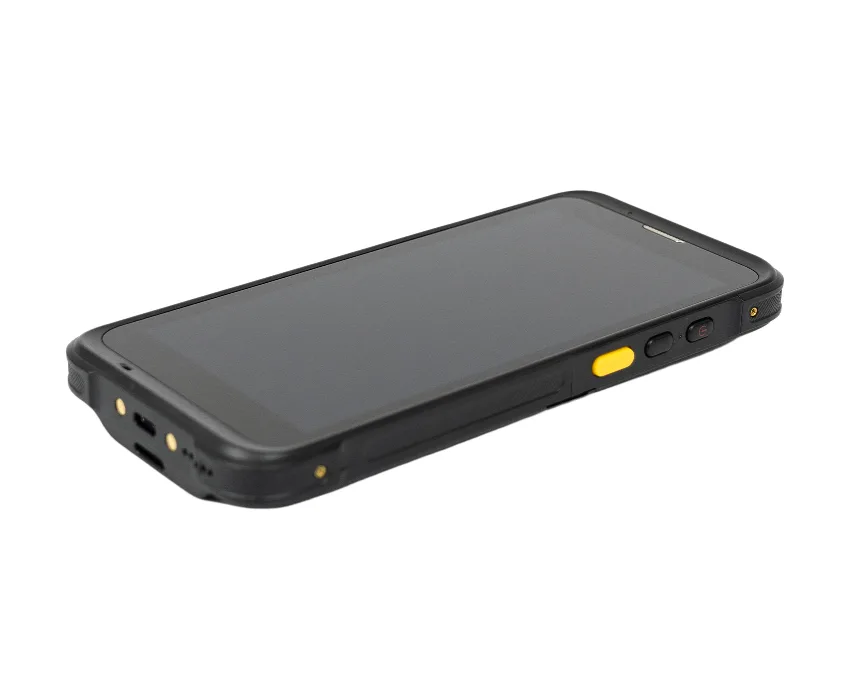
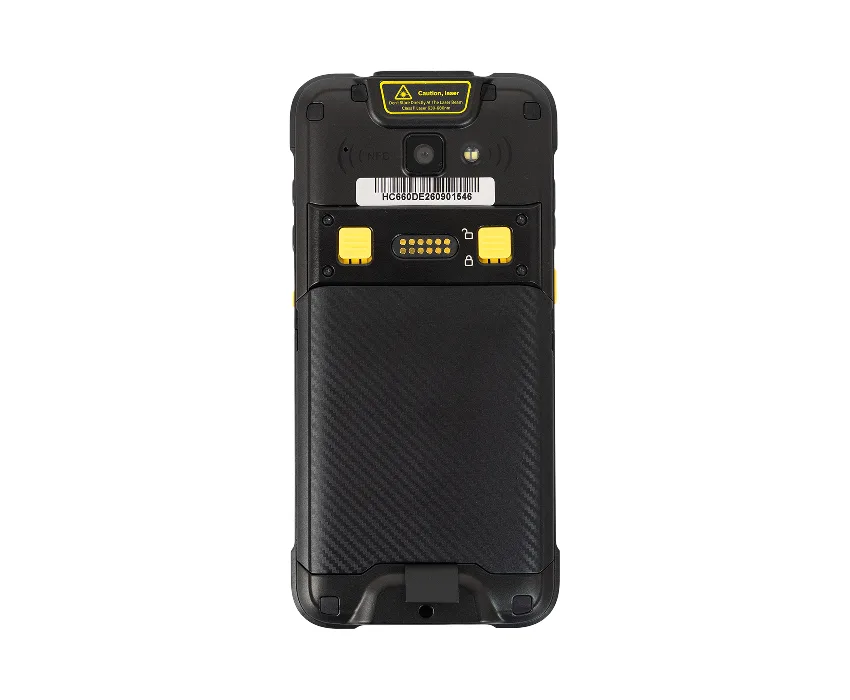
The terminal has six side buttons. The 2D scan engine sits at the top edge, the HD camera and flash are on the back, and the NFC antenna surrounds the camera — hold NFC cards and tags against this area.
| Button | Location | Function |
|---|---|---|
| Power | right side | Press to turn the device on or off. |
| PTT | right side | Programmable button — its function is assigned by software. |
| SCAN | both sides | Two scan buttons, one on each side; press to read a code. |
| Volume + / − | left side | Turn the volume up or down. |
Install the SIM and microSD cards
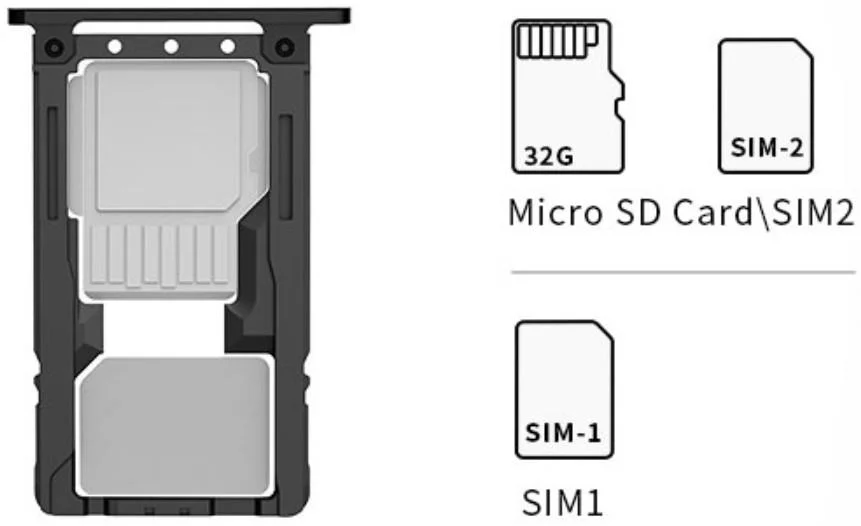
The card tray has two positions:
- SIM1 — nano SIM card.
- microSD / SIM2 — either a microSD (TF) card up to 256 GB or a second nano SIM card.
Turn the device off before inserting or removing cards.
Battery and charging
Charging
Charge the device through the USB Type-C port using the original power adapter supplied in the set. Do not use other adapters. The charger output is 9 V DC / 2 A; a full charge takes about 2.5 hours.
Connect the terminal only to a USB port of version 2.0 or higher. Connecting it to a so-called "power USB" port is not allowed. Install the power adapter near the device, in an easily accessible place — unplugging the adapter disconnects the power supply.
Battery care
- Do not leave the battery unused for a long time, whether it is in the device or in storage. If a battery has been in use for 6 months, check that it still charges properly or dispose of it correctly.
- The lifespan of a lithium-ion battery is around 2 to 3 years, i.e. 300 to 500 full charge cycles (one cycle = fully charged and fully discharged).
- A lithium-ion battery that is not in use keeps discharging slowly — check its charge level regularly.
- Write down the operating time of a new battery and compare it with a battery that has been in use for a long time. The operating time depends on the device configuration and the applications in use.
- When the battery capacity drops below about 80%, the charging time increases noticeably.
- If a battery stored for a long time turns out to be completely discharged, treat it as damaged — do not try to charge or use it, replace it with a new one.
- Store the battery at 5 to 20 °C.
Barcode scanning
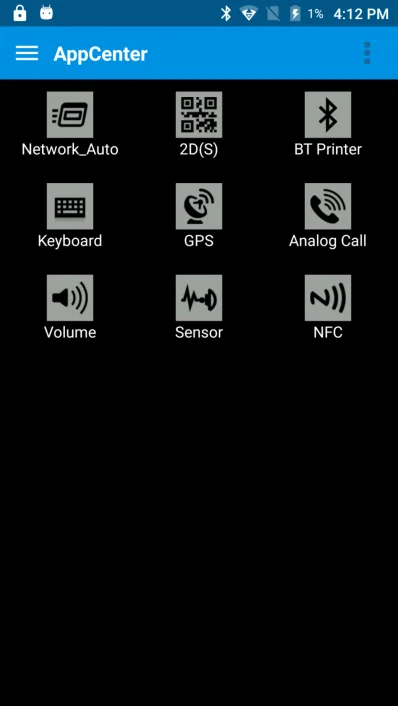
- Open AppCenter and start the 2D(S) barcode scan test.
- Press a SCAN button or tap Scan on the screen to start scanning. The Auto interval parameter sets the interval between automatic scans (in ms).
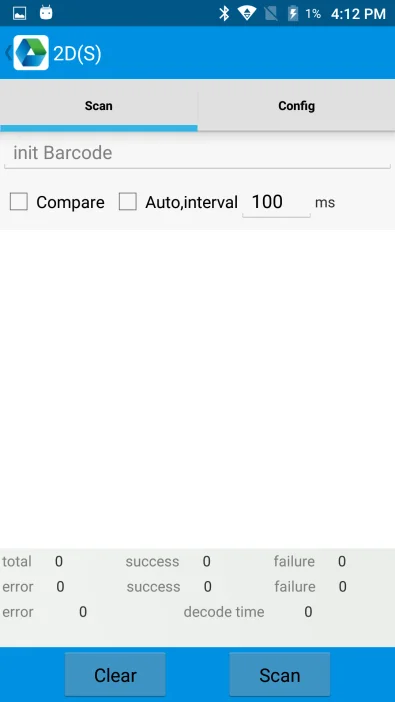
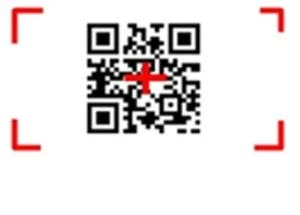
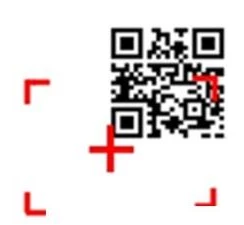
Aim correctly, otherwise the code will not be read — the aiming cross must be on the code and the whole code must be inside the frame.
Correct:
Incorrect:
The scan engine uses a laser aiming beam — do not stare into the beam. Maximum radiant power 0.6 mW, wavelength 655 nm; complies with IEC 60825-1 (Ed. 2.0) and 21 CFR 1040.10 and 1040.11.
Keyboard emulator
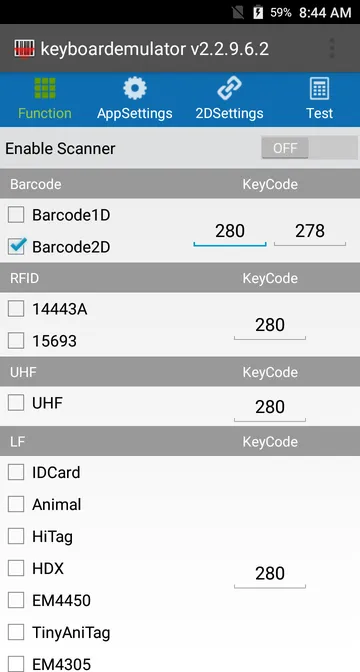
The keyboard emulator (the keyboardemulator app) sends scanned data straight into any application as keyboard input, in the format you choose — including a prefix, suffix, Enter or TAB after each code. Use it to scan codes directly into your warehouse, sales or ERP app without additional integration.
The Enable Scanner option turns the emulator on. Below it, select the data sources (e.g. Barcode1D, Barcode2D, 14443A and 15693 NFC cards) and assign each of them a key code (KeyCode) that triggers reading. The data format and scanner settings are on the AppSettings and 2DSettings tabs, and the Test tab lets you check that everything works.
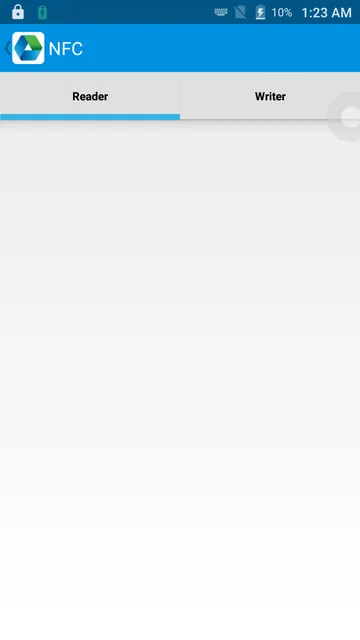
NFC
Open AppCenter and start NFC to read and write tag information. The Reader tab is for reading and the Writer tab for writing. Hold the card or tag against the back of the device, around the camera — the reading range is 2–4 cm.
AppCenter tools
AppCenter groups the tools for testing and configuring the terminal hardware.
PING
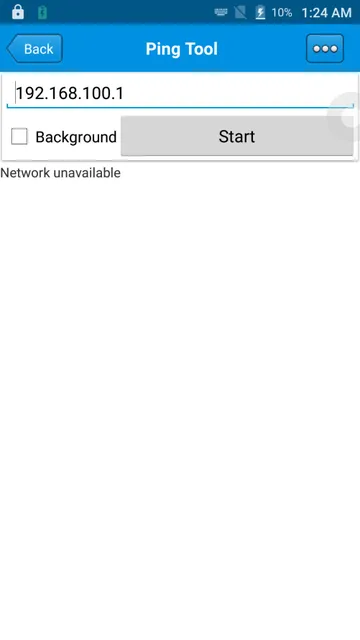
- Open PING in AppCenter.
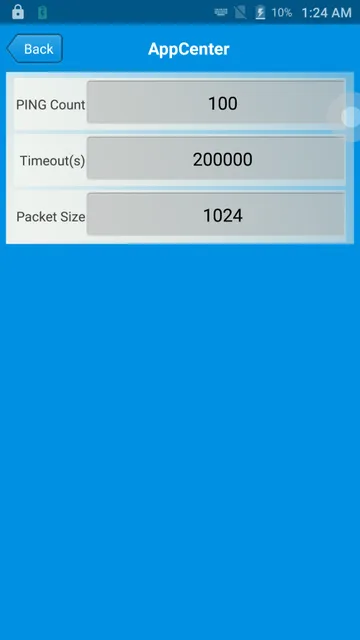
- Enter an address (external or internal) and tap Start. Select Background to run the test in the background. Under the ⋯ button you can set the parameters: number of packets (PING Count), time limit (Timeout) and packet size (Packet Size).
Bluetooth
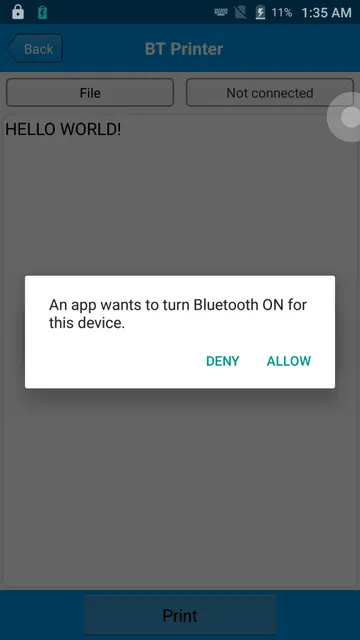
- Open BT Printer in AppCenter and allow Bluetooth to be turned on (ALLOW).
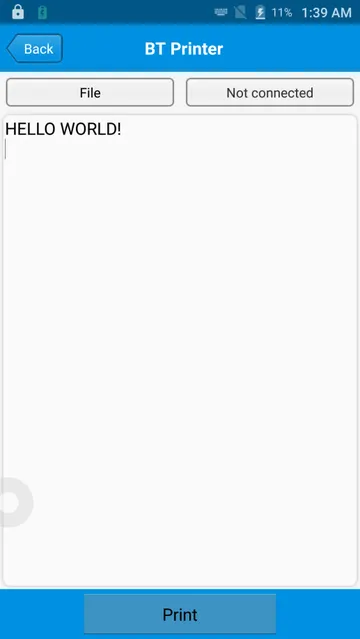
- From the list of detected devices, select the one you want to pair.
- Select the printer and tap Print to print content.
GPS
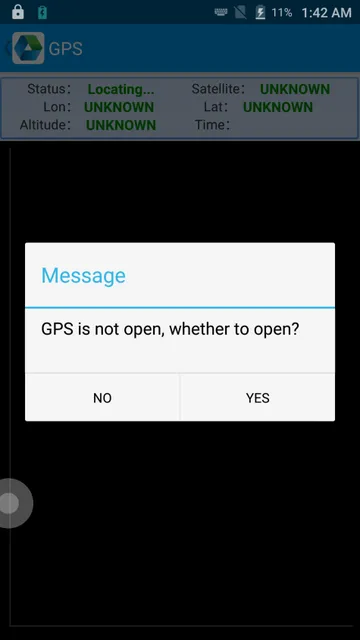
- Open GPS in AppCenter. If GPS is off, confirm turning it on (YES).
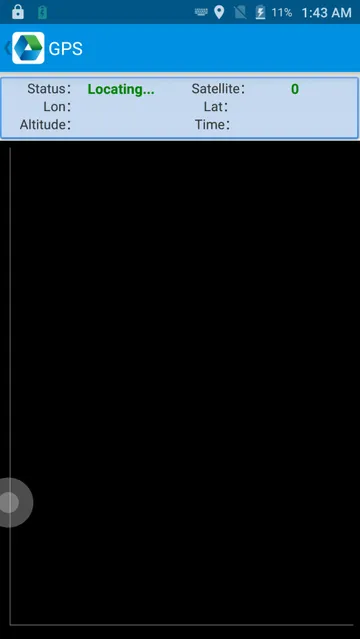
- Set the GPS parameters to read location information: status, number of satellites, longitude and latitude, altitude and time.
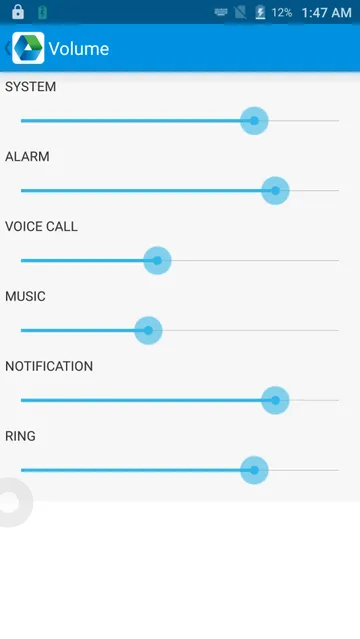
Volume
- Open Volume in AppCenter.
- Set the volume as required — separately for the system, alarms, calls, music, notifications and ringtone.
Sensors
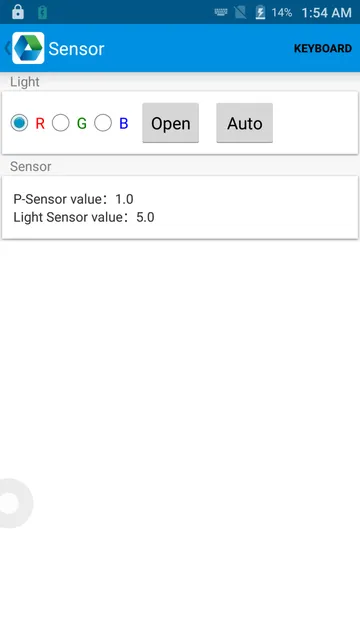
- Open Sensor in AppCenter.
- Check and set the sensors as required — including the proximity sensor (P-Sensor) and light sensor (Light Sensor) readings.
Buttons
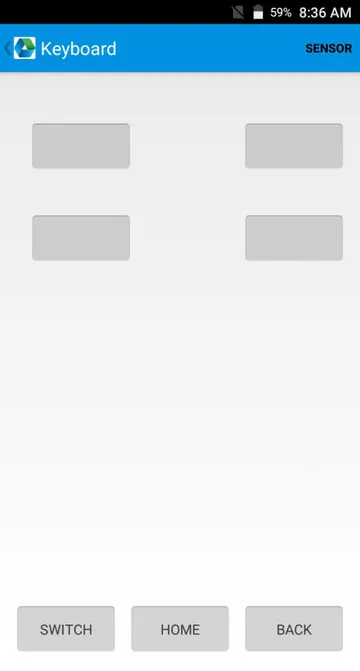
- Open Keyboard in AppCenter.
- Press the device buttons to check that they work and to set the codes assigned to them.
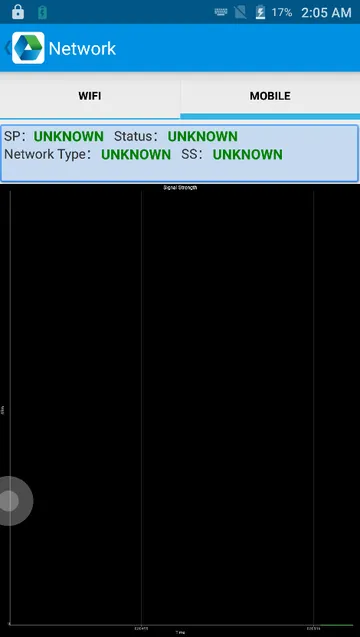
Network
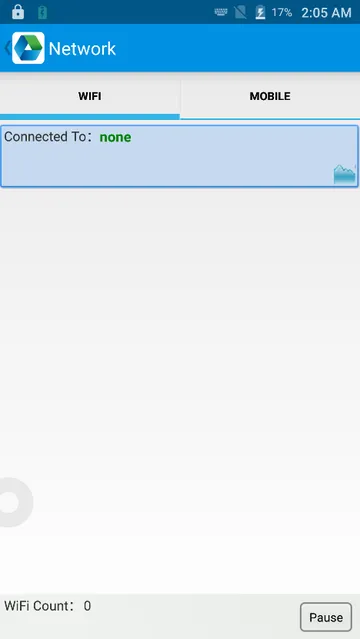
- Open Network in AppCenter.
- Test the Wi-Fi signal (WIFI tab) or the mobile network signal (MOBILE tab).
Calls and messages
Calls
- Tap the
 icon.
icon. - Enter the number on the numeric keypad.
- Tap the
 icon to make the call.
 - Tap the
 icon to end the call.
Contacts
- Tap Contacts to open the contacts list.
- Tap the
 icon to add a new contact.
 - Tap the
 icon to import or export contacts.
SMS and MMS
- Tap the
 icon to open messages.
 - Tap the
 icon to enter the recipient and the content.
 - Tap the
 icon to send the message.
 - Tap the
 icon to attach pictures or videos.
Safety notes
Risk of explosion if the battery is replaced with an incorrect type. Dispose of used batteries according to the instructions.
- Use only the original battery and power adapter.
- Connect the terminal only to a USB port of version 2.0 or higher.
- The adapter must be installed near the device and be easily accessible.