Monitor and laptop mount on one column, SolidHand-AL01M01
GTIN: 5907614666729 · SKU: SolidHand-AL01M01
The SolidHand-AL01M01 holds one monitor of 17 to 32 inches, up to 9 kg, and one laptop of 10 to 15.6 inches, up to 4 kg, on a single column fixed to the desk. The monitor sits on a three-joint arm with a VESA plate; the laptop rests on a ventilated tray carried by a second, lower arm. Both arms are clamped on the column, so each device is set to its own height and the desk below stays free.
Table of contents
Specifications
- Colour: matt black
- Material: steel, plastic
- Surface finish: powder coating
- Number of monitors: 1
- Number of laptops: 1
- Monitor size: 17–32"
- Monitor weight: up to 9 kg
- VESA pattern: 75 × 75 mm, 100 × 100 mm
- Laptop size: 10–15.6"
- Laptop weight: up to 4 kg
- Laptop tray: 300 × 280 mm, side holders adjustable 240–420 mm
- Arm swivel: ±90° at each of the three joints
- Monitor rotation (pivot): ±180°
- Monitor tilt: +45° / −45°
- Maximum arm reach: 376 mm
- Column: Ø35 mm, 407 mm above the desk
- Height adjustment: manual — each arm is clamped on the column at the chosen height
- Mounting: desk clamp (desktop 10–85 mm thick) or grommet (desktop 10–40 mm thick)
- Built-in USB ports: none
- Dimensions of the mount: 959 × 319 × 561 mm
- Package dimensions: 440 × 290 × 120 mm
- Product weight: 4.86 kg
- Weight with packaging: 5.6 kg
- Certificates: RoHS, REACH
Kit contents
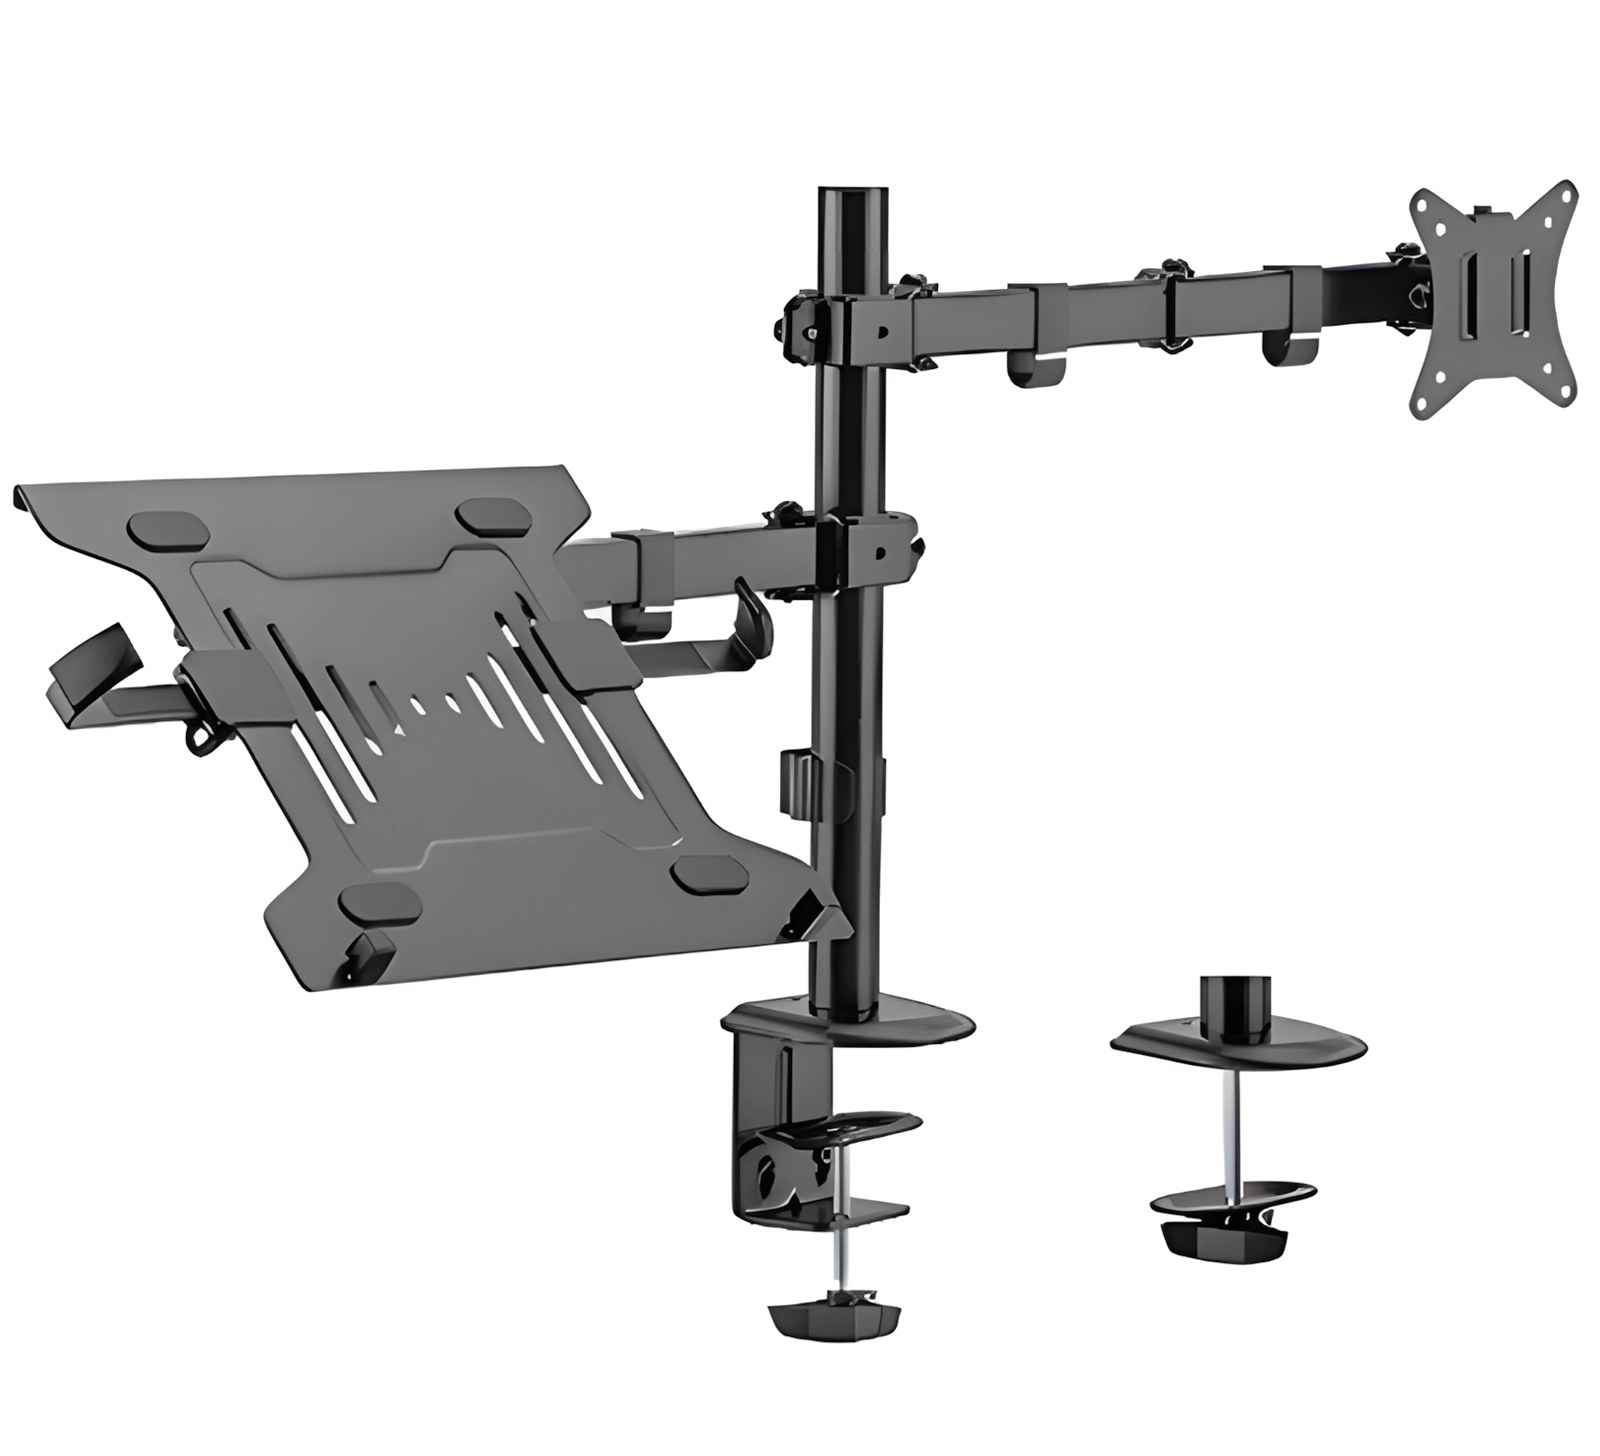
The box holds the complete mount and the hardware for both devices:
- Mount — desk base with the clamp and the grommet fitting, column, monitor arm with the VESA plate, and the lower arm with the laptop tray
- Mounting screws and washers
- Assembly instructions
Before you start
Assembly takes about twenty minutes. Prepare the following:
- A second person — hanging the monitor on the arm is a two-person job
- A screwdriver for the monitor screws
- For grommet mounting on a desk without a hole: a drill
- A check that the monitor is 17–32" and up to 9 kg with VESA 75 × 75 or 100 × 100 holes, and that the laptop is 10–15.6" and up to 4 kg
- A check of the desktop — 10–85 mm thick for the clamp, 10–40 mm for the grommet mount, and solid enough to carry the mount with both devices
Check that you have received all the parts listed above before you start. If anything is missing or damaged, contact us before assembling the mount.
Assembly
Step 1 — Fix the base to the desk
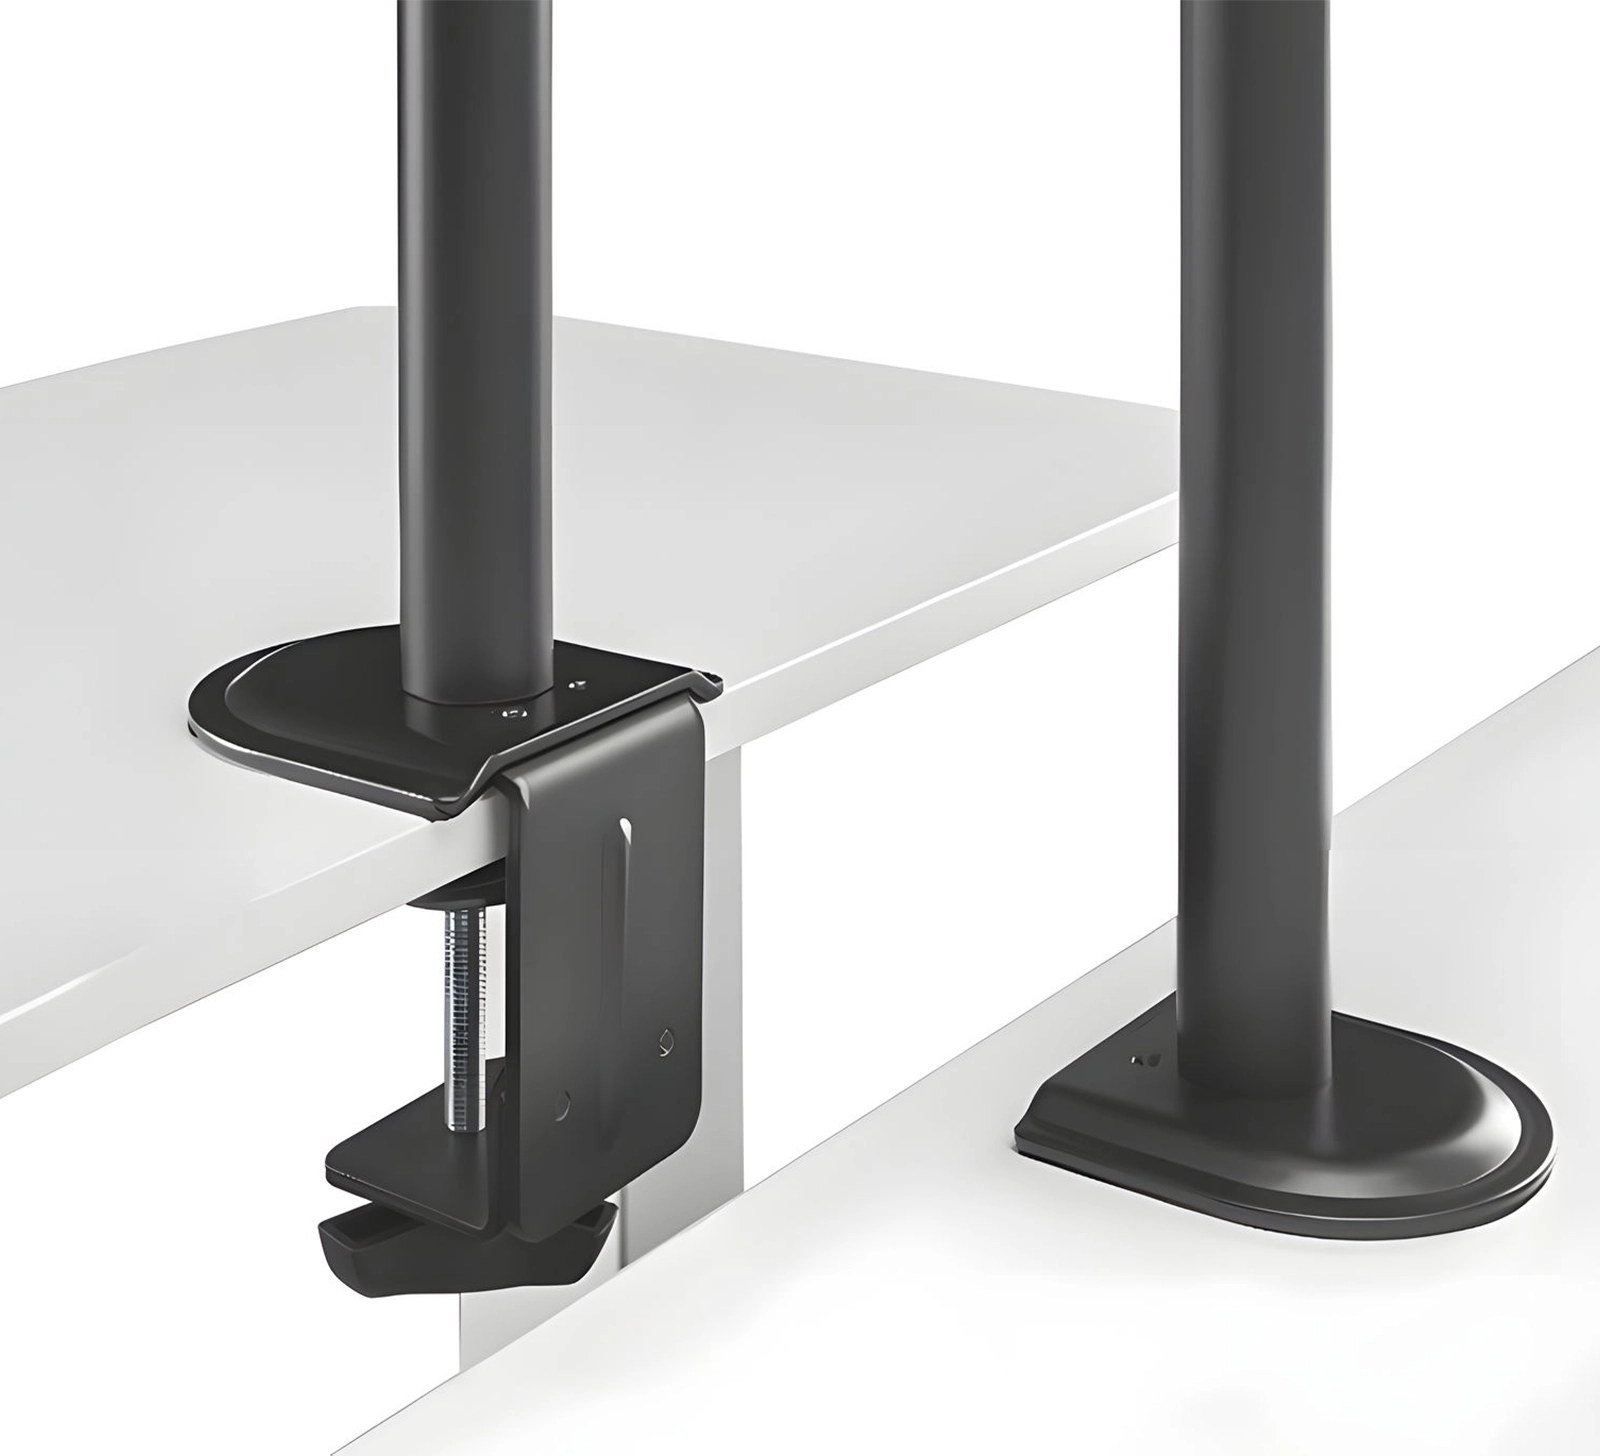
The base is fixed in one of two ways and the hardware for both is in the box. The clamp needs a free desk edge and leaves no trace; the grommet mount needs a hole in the desktop and keeps the base flush with it.
Clamp mounting
- Put the base on the edge of the desk, the pad on top of the desktop and the jaw underneath.
- Turn the clamp screw up against the underside of the desktop and tighten it firmly. The desktop may be 10 to 85 mm thick.
- Check that the base lies flat and the column stands vertical before you tighten fully.
Grommet mounting
- The desktop may be 10 to 40 mm thick. If there is no hole, drill one where the column is to stand.
- Put the base on the desk and pass the threaded bolt down through the hole.
- Fit the plate and the nut on the bolt underneath the desktop and tighten.
Step 2 — Set the column and both arms
- Set the column in the base and tighten it.
- Slide the collar of the monitor arm onto the column at the height you want and tighten the screws on the collar.
- Slide the collar of the lower arm — the one that carries the laptop tray — onto the column below it and tighten it the same way.
- Leave enough distance between the two arms for the open laptop screen, and check it again once the laptop is on the tray.
There is no gas spring in this mount. The working height of each arm is set once, with the collar screws, and changed later by loosening the same screws — not by pushing the screen up or down.
Step 3 — Hang the monitor
- Screw the supplied screws with washers into the VESA holes on the back of the monitor. The plate on the arm matches both the 75 × 75 mm and the 100 × 100 mm pattern.
- With a second person holding the monitor, put it against the VESA plate on the end of the upper arm and tighten the screws. Do not overtighten them.
- Check that the monitor is held at all four points before you let go of it.
Do not let go of the screen until all four screws are seated and tightened. A monitor dropped from the arm damages both the screen and the mount.
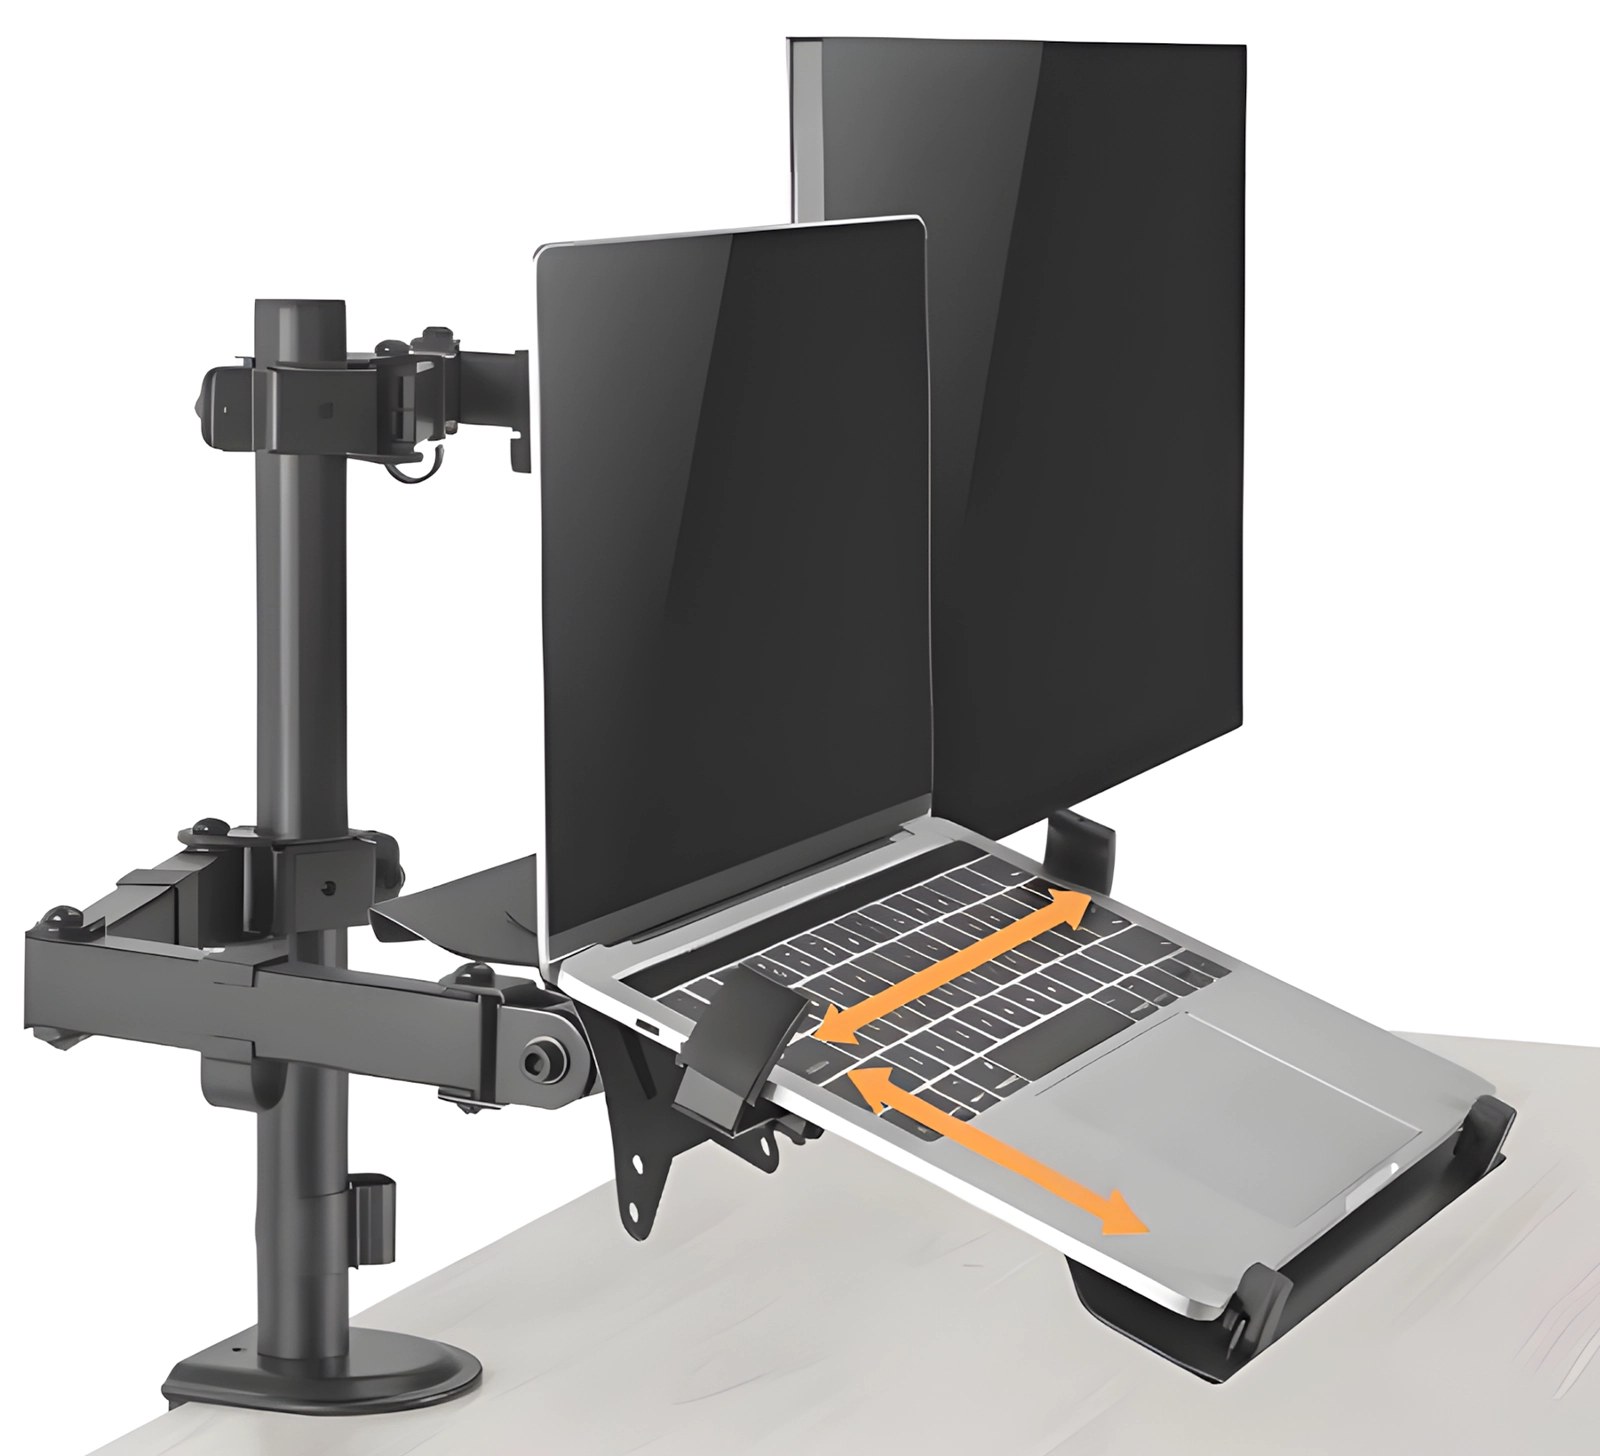
Step 4 — Fit the laptop tray and the laptop
- Fasten the tray to the VESA plate on the end of the lower arm with the supplied screws.
- Set the two side holders to the width of your laptop — they slide between 240 and 420 mm.
- Put the laptop on the tray, push it back against the rear stop and let the front lip hold its edge.
- Open the laptop and check that its screen clears the monitor arm through the whole swing of both arms.
Step 5 — Route the cables and set the position
- Lay the monitor and the laptop cables along the arms and clip them into the holders on the arms and on the column.
- Leave enough slack for the full swing of both arms — a taut cable pulls on the ports every time a screen is moved.
- Set the height, the reach and the angle of both screens, then run through the whole range of movement once more.
Dimensions and adjustment ranges
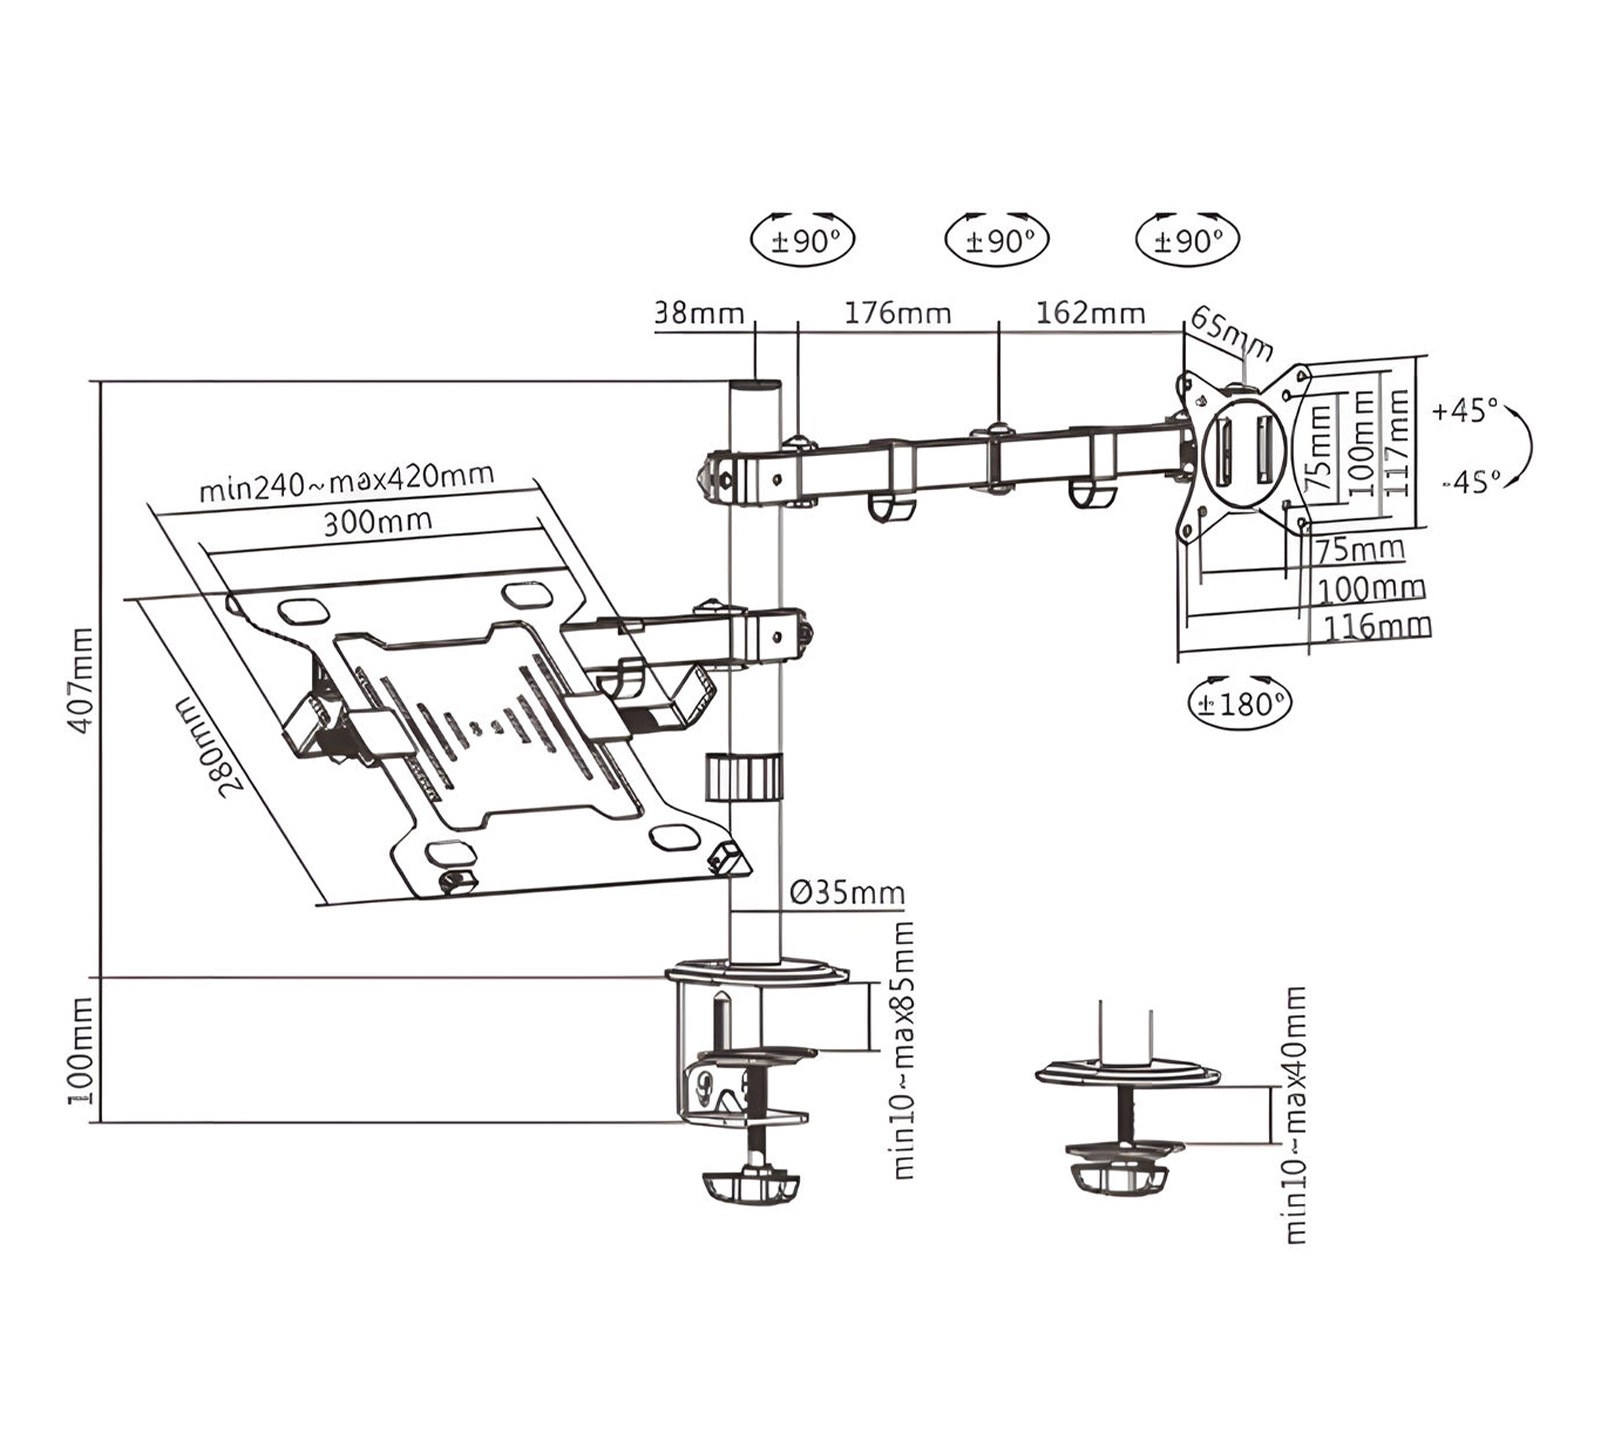
- Column: Ø35 mm, 407 mm above the desk
- Monitor arm: 38 + 176 + 162 mm between the joints and 65 mm to the VESA plate — maximum reach 376 mm
- Swivel: ±90° at each of the three joints of the arm
- Monitor rotation (pivot): ±180°
- Monitor tilt: +45° / −45°
- VESA plate: 75 × 75 mm and 100 × 100 mm, 116 × 117 mm overall
- Laptop tray: 300 × 280 mm, side holders 240–420 mm
- Desk clamp: desktop 10–85 mm thick
- Grommet mount: desktop 10–40 mm thick
- Overall size in use: 959 × 319 × 561 mm
Using the mount
With both arms set, the mount is a two-screen workstation on the footprint of a single column:
- The monitor is the main screen — set its top edge at about eye level and its distance at arm’s length
- The laptop works as the second screen beside it, lifted off the desk, with air under the tray
- Both arms swing aside when the desk is needed for something else and come back to the same position
- Keep within the ratings: 9 kg on the monitor arm, 4 kg on the tray
- Nothing but the base rests on the desk, so the surface stays clear for a keyboard and documents
Safety instructions
Failure to read, understand and follow all instructions can result in serious personal injury or damage to equipment.
- Using the mount with a load above the rated capacity makes it unstable and can lead to injury.
- Follow the assembly instructions exactly. Incorrect installation can cause damage or serious personal injury.
- Use proper safety measures and the right tools. The product should be installed by professionals.
- Make sure the supporting surface will safely carry the combined weight of the equipment and of all mounting parts and components.
- Use the supplied mounting screws and do not overtighten them.
- The product contains small parts that can be a choking hazard if swallowed. Keep them away from children.
- The product is intended for indoor use only. Outdoor use can lead to failure of the product and to personal injury.
Frequently asked questions
What monitor sizes and standards are supported?
What are the maximum load capacities?
How can I mount the stand to my desk?
What range of motion does the arm provide?
Which laptops fit on the tray?
Can I change the height after assembly?
Downloads
The manufacturer’s manuals and datasheets in PDF, in case an offline copy is needed. Everything in them is on this page as well.
- SolidHand-AL01M01 user manual — Polish (PDF)
- SolidHand-AL01M01 user manual — English (PDF)
- SolidHand-AL01M01 user manual — German (PDF)
- SolidHand-AL01M01 user manual — Romanian (PDF)
- SolidHand-AL01M01 datasheet — Polish (PDF)
- SolidHand-AL01M01 datasheet — English (PDF)
- SolidHand-AL01M01 datasheet — German (PDF)